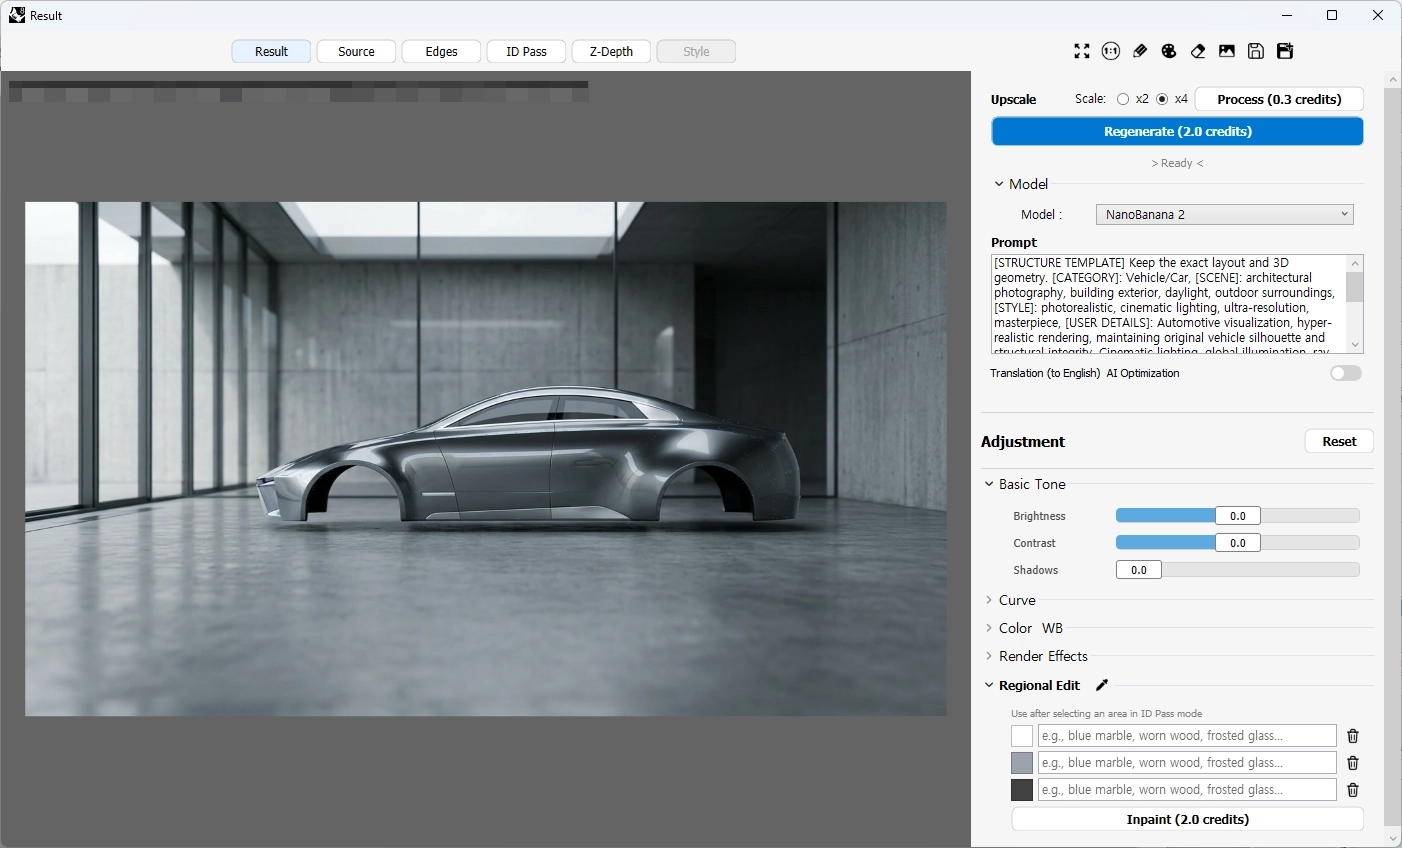
Result
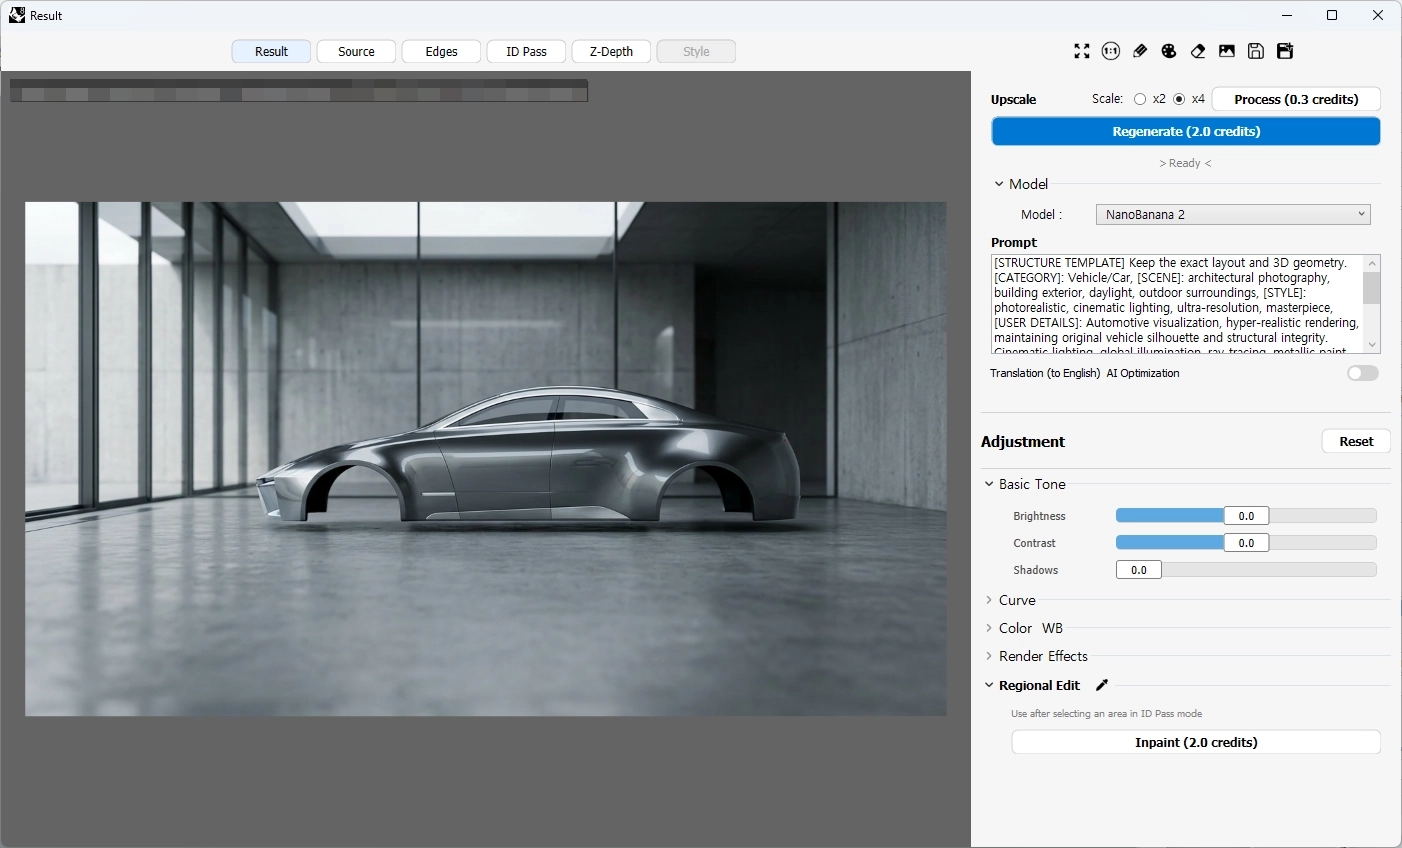
1. Generation & Setup
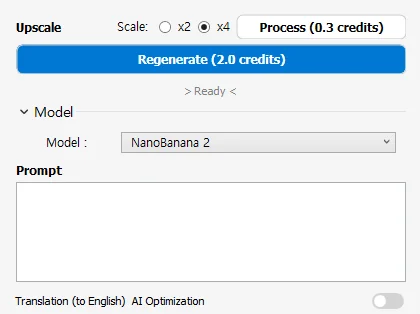
- Regenerate: Creates a new image again based on the currently entered prompt and settings.
- Upscale: Improves the image quality by expanding the resolution of the generated image.
- Scale (x2 / x4): Selects the scale to upscale the resolution by 2x or 4x.
- Process: Executes the upscaling task with the set scale.
- Prompt: A space to describe the desired image output or input text control commands such as Structure Template.
- Translation (to English) AI Optimization: When activated, it automatically translates the native language prompt entered by the user into English so the AI model can recognize it more clearly.
2. Image Editing (Adjustment)
An area for post-correcting the brightness, color, and special effects of the generated image.
- Reset: Reverts all lower correction values to the default value (0.0).
Basic Tone
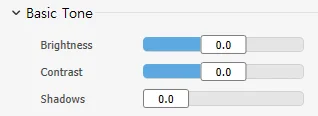
- Brightness: Adjusts the overall brightness of the entire image.
- Contrast: Adjusts the difference in lightness and darkness between bright and dark areas. Increasing the value makes the image clearer, and decreasing it makes it softer.
- Shadows: Independently adjusts the brightness of only the dark parts (shadows, etc.) in the image to enhance details or make them heavier.
Curve
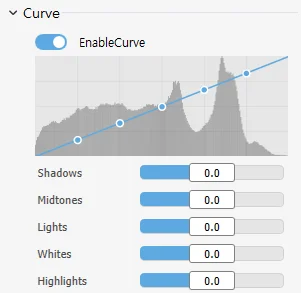
EnableCurve: Turns the precise tone correction feature on or off. While visually checking the brightness distribution of the image, you can finely adjust the contrast and exposure by moving the control points on the graph up and down.
- Shadows: Adjusts the darkest tones.
- Midtones: Adjusts the tone of the mid-range areas that are neither bright nor dark to balance the overall exposure.
- Lights: Adjusts the tone of the bright areas receiving light.
- Whites: Adjusts the brightest tones that are close to completely white.
- Highlights: Finely adjusts the highest brightness areas, such as specular reflections receiving the strongest light in the image.
Color WB
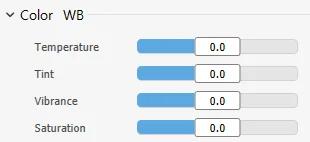
- Temperature: Simulates the temperature of the lighting by adjusting the warm feel (orange/yellow) and cool feel (blue) of the image.
- Tint: Adjusts the color balance between Green and Magenta to correct minute color shifts.
- Vibrance: Raises the saturation of relatively low-saturation colors to create a natural and lively color tone, while protecting already highly saturated colors from becoming overly vivid.
- Saturation: Uniformly adjusts the color density of the entire image. If the value is low, it becomes closer to achromatic (black and white), and if it is high, the color becomes deeper.
Render Effects
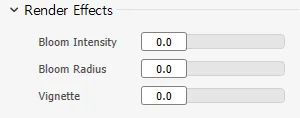
- Bloom Intensity: Adjusts the strength of the light source effect (Bloom) where light softly spreads around a bright light source or highlight.
- Bloom Radius: Sets the range and size where the light spreads.
- Vignette: Darkens the outer corner parts of the image to give a dramatic effect that focuses attention on the central subject or rendering result.
3. View Result & Passes
A tab to select the type of image to be displayed in the viewport. You can visually check the various intermediate data (masks) used when the AI generates an image or recognizes the 3D structure.
- Result: Displays the final rendered output reflecting all text prompts and settings.
- Source: Displays the original source image uploaded for Image-to-Image generation.
- Edges: Displays the extracted line art map (Canny, Lineart, etc.) from the original image or 3D model. Use this to verify proper shape and edge detection.
- ID Pass: Displays a color-coded segmentation mask to distinguish specific objects or materials. Use this to easily select and modify target areas.
- Z-Depth: Displays a depth map showing camera-to-subject distance in grayscale (brighter means closer).
- Style: View the reference image.
4. Viewer Control and Image Tools
A collection of icons located in the upper right corner of Result, used to zoom in/out of the image or perform simple editing and saving tasks.

- Full Screen: Fits the current image to the screen or viewport size.
- Original Size (1:1): Displays the image at its original 100% resolution.
- Draw: Adds a sketch directly to the image to improve generation accuracy.
- Color Palette: Used to select a color when using the brush tool.
- Eraser: Erases brush-painted mask areas or sketches.
- Clipboard: Copies the current viewport image to the clipboard.
- Save: Saves the current view as an image.
- Save As / Export: Saves the current view under a different filename or format.
5. Regional Edit
Select an object with the eyedropper, input your desired material, and run Inpainting.
- Eyedropper: This tool is useful when you want to make precise edits to specific parts of an image. Selecting the eyedropper tool at the bottom right of the main panel switches the screen to an ‘ID Pass’ image, allowing you to easily specify the area to edit by simply clicking on the object's color.